In this blog I will show you how easy it is to test code locally when using Eclipse IDE on a Mac. Rather than converting our local machine into a LAMP (Linux, Apache, MySQL, PHP) server, we will use the power of Docker to spin up and test our code on demand.
Firstly, you will need Docker for Mac installed. That is out of scope of this guide however it is fairly easy for beginners to install just like any other Mac OS application from here – https://www.docker.com/docker-mac. You could obviously do pretty much the same using Windows.
You will obviously need Eclipse IDE running. To enable us to use Docker, we will need to install Docker tooling capabilities from Eclipse Marketplace:
We will be deploying a WordPress website with a MySQL backend. To begin with, we will setup our database using Docker. Load up terminal and pull the docker image:
$ docker pull mysql/mysql-server
Now we will instantiate a MySQL Docker container which we will use as our database server. Let’s run our MySQL instance:
$ docker run --name wp-mysql -p 33060:3306 -e MYSQL_ROOT_PASSWORD=Password1 -d mysql/mysql-server
Above we instantiated a MySQL container with the following parameters:
- “–name“: This is the name of the container we will use to link our web server to
- “-p 3306:3306“: This tells Docker to publish TCP port 3306 on our machine to port 3306 in the container. This will help us if we wish to manage the MySQL database from our local machine
- “-e MYSQL_ROOT_PASSWORD=Password1“: Here we define an environment variable for the root password. We will need this when creating the database
- “-d“: Run the container in detached mode (in the background) otherwise it will exit once we finish running the command
Now the container should be up and running. We can see this if we run “docker ps”:
$ docker ps | grep wp-mysql

e5df33b8a29b        mysql/mysql-server                                       "/entrypoint.sh mysq…"   13 seconds ago      Up 12 seconds (health: starting)   33060/tcp, 0.0.0.0:33060->3306/tcp   wp-mysql
Now that our MySQL instance is running, lets log into it and setup our database/user. Use
$ docker exec -i -t wp-mysql /bin/bash
The above will allow us to access the shell in “interactive” mode executing the command “/bin/bash”. Once the shell is loaded, use “mysql” command and let’s run some commands to setup the DB/User:
bash-4.2# mysql -u root -p

Enter password:

Welcome to the MySQL monitor.  Commands end with ; or \g.

Your MySQL connection id is 11

Server version: 5.7.21 MySQL Community Server (GPL)

Copyright (c) 2000, 2018, Oracle and/or its affiliates. All rights reserved.

Oracle is a registered trademark of Oracle Corporation and/or its affiliates. Other names may be trademarks of their respective owners.

Type 'help;' or '\h' for help. Type '\c' to clear the current input statement.

mysql> CREATE DATABASE wp_db;

Query OK, 1 row affected (0.00 sec)

mysql> GRANT ALL PRIVILEGES ON wp_db.* TO "wp_user"@"%" IDENTIFIED BY "Password1";

Query OK, 0 rows affected, 2 warnings (0.00 sec)

mysql> flush privileges;

Query OK, 0 rows affected (0.00 sec)

mysql>

mysql> exit

Bye

bash-4.2# exit

exit
Above we performed the following steps:
- Ran “mysql” command using the root account and password we set earlier (Password1)
- Created a DB called wp_db
- Created a user wp_user and granted it access to wp_db
- We specified ‘%‘ for wp_user as we do not know what IP address docker will assign to our web server later on
Now that our DB is ready, we can start working with Eclipse and our WordPress application. Create a new project and place the WordPress files into the project in your Eclipse workspace. It should look something like this:
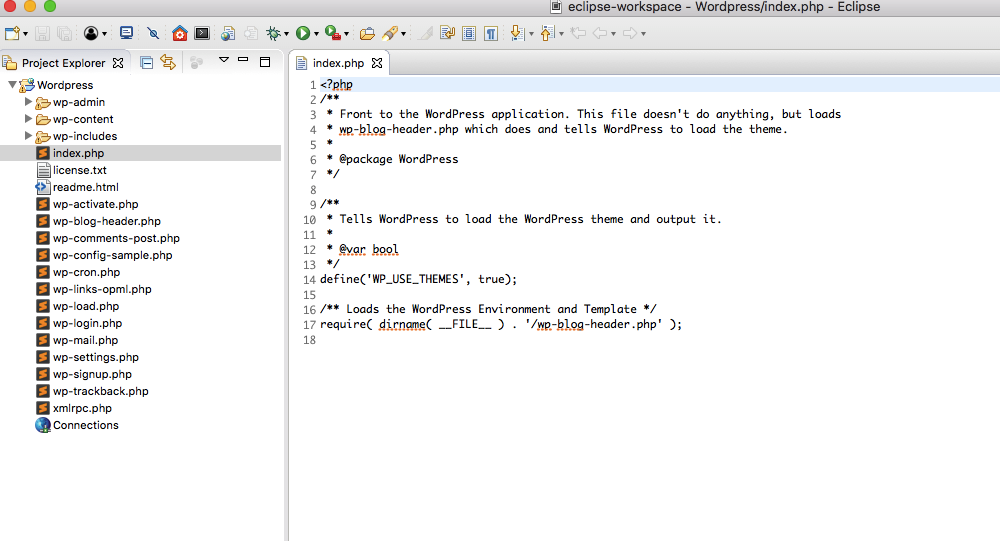
Generally here you would start customising your build, build modules/themes etc.. We will assume thats all been done and we are ready to start testing the application.
We will now use Docker tooling to define a run configuration for our application. We will use a Docker image “nimmis/apache-php7” as our apache/php server however you can use whichever meets your specific needs (Docker Hub has ample LAMP based images).
Start off by pulling the Docker image to ensure that it is loaded into our container registry locally:
$ docker pull nimmis/apache-php7
Now let’s configure a Run Configuration which will load up our apache/php container linking it to the MySQL container instantiated above. We do this by:
- Creating a new run configuration within the Docker context
- Specifying the apache/php image we pulled earlier
- Giving the container a name
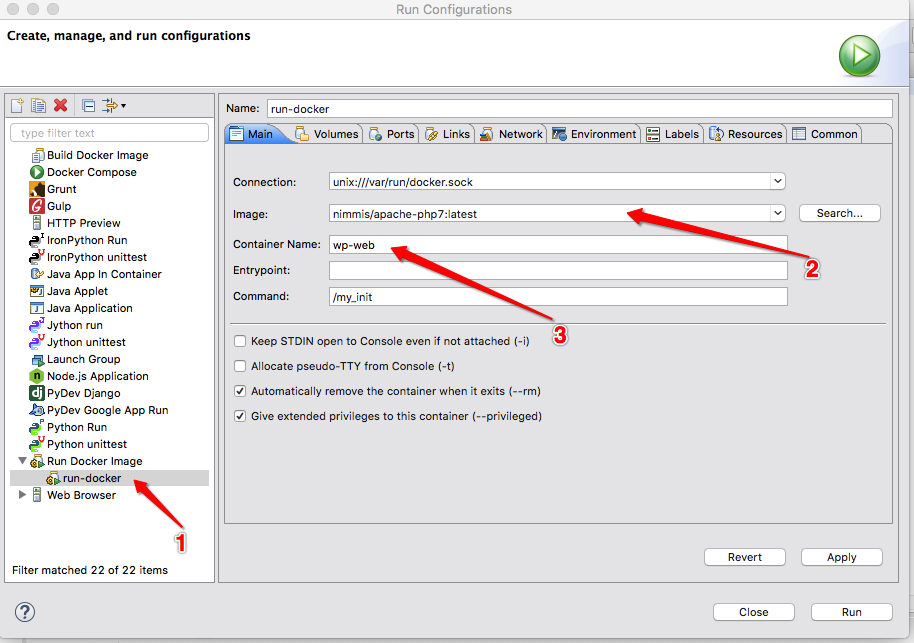
Note, the “Automatically Remove” option above is handy when debugging as we don’t want stale containers when doing a lot of testing sticking around. Hence it will remove the container upon completion.
Next, we want to mount the WWW directory within the apache/php container to our local development environment hosting the website files (in our case WordPress). Within our Run Configuration:
- Go to the Volumes tab and select Add
- Specify the Container Path within the container hosting the website files, in our case its /var/www/html
- Mount this Container Path to the location of the files stored locally
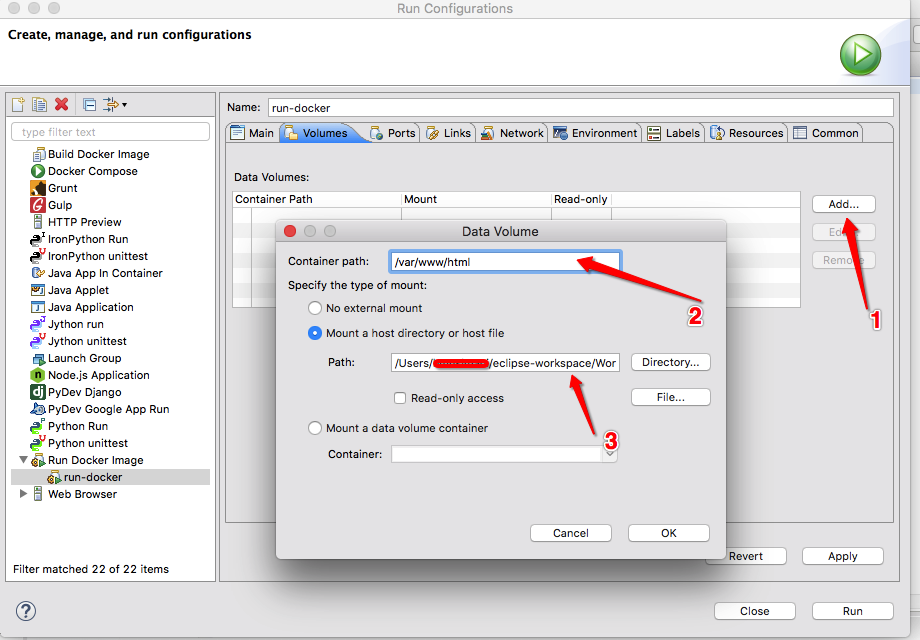
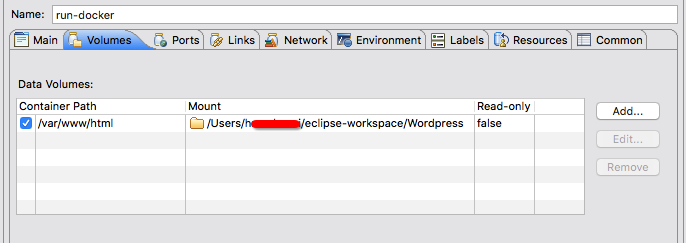
Press OK, it should look something like this:
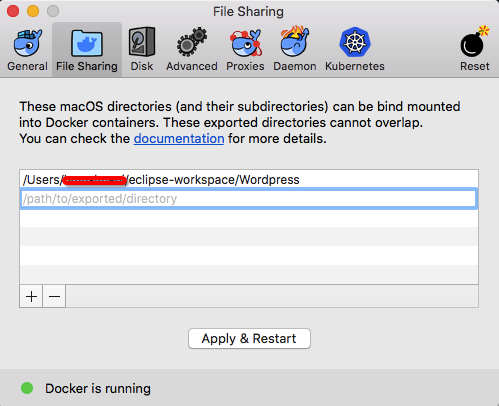
You will need to configure your Docker application to allow the folder to be mounted to the container. In Docker Preferences, make sure you add the directory where your website files:
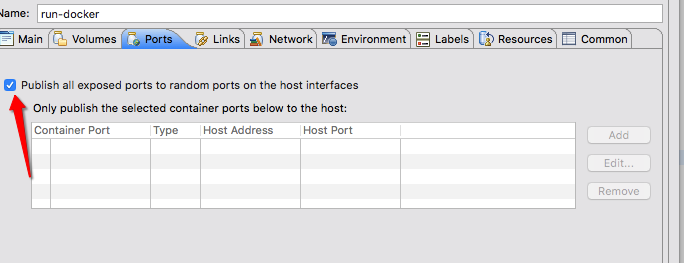
To be able to access and test our web application, we will need to expose a port from within the container to our local machine. We could define a port, but for now we will let it assign a random port which will be exposed to port 80 within the container. Go to the “Ports” tab and set it to publish all exposed ports:
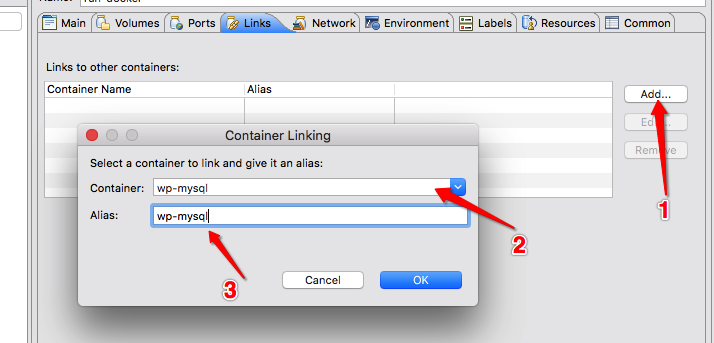
We need to link our web server to the MySQL server container. On the Links tab, add the container “wp-mysql” and give it an alias:
By now we have done enough to launch and test our application. Apply the Run Configuration changes just made and select “Run” (or use the drop down list from the play button in your menu bar. Once it is running, we can see the log output from the console within eclipse.
Once the apache/php container is running, we can either use “docker ps” to find the port that was assigned to the container using terminal:
$ docker ps

CONTAINER ID        IMAGE                       COMMAND                  CREATED             STATUS                    PORTS                                NAMES

5424a4580480        nimmis/apache-php7:latest   "/my_init"               13 seconds ago      Up 12 seconds             0.0.0.0:32768->80/tcp                wp-web
Or we can use Docker Explorer tooling from within Eclipse to show us some important information about the container(s):

You can see from above:
- We have the two container running: wp-web and wp-mysql
- Our apache/php container is linked to the MySQL container. This is an awesome feature of Docker which will inject a line into the hosts file of the linking container to the linked container so you do not need to be concerned about DNS/IP addresses. You will see later we simply specify the linked container name and our application will be able to connect to it
- Port TCP/32769 is mapped from the local host to port 80 from within the apache/php container
- We have successfully mounted the html volume into the container from the local workspace
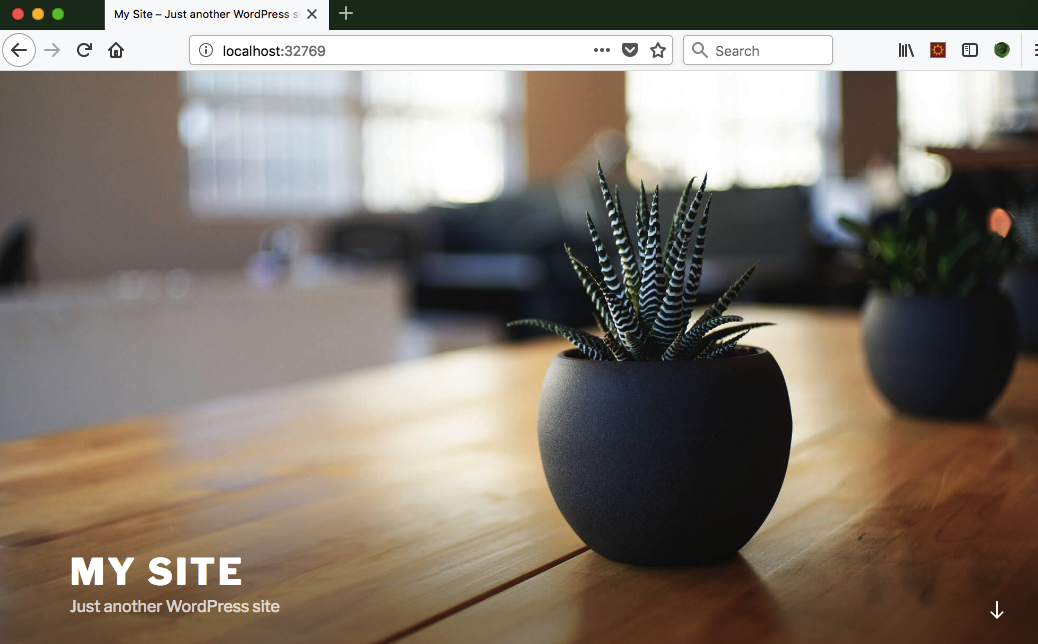
We are ready to start testing by firing up a browser and going to the url http://localhost:32769. By default, WordPress will launch the installation menu. We can use the MySQL details specified earlier:
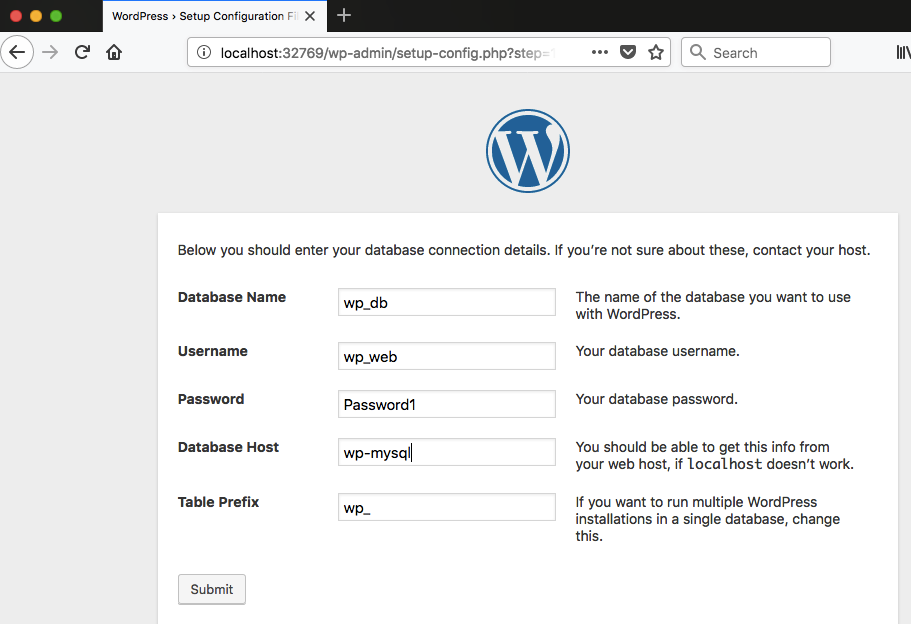
Complete the installation, and there you go….